Table of Contents
How to Make a Still Air Box
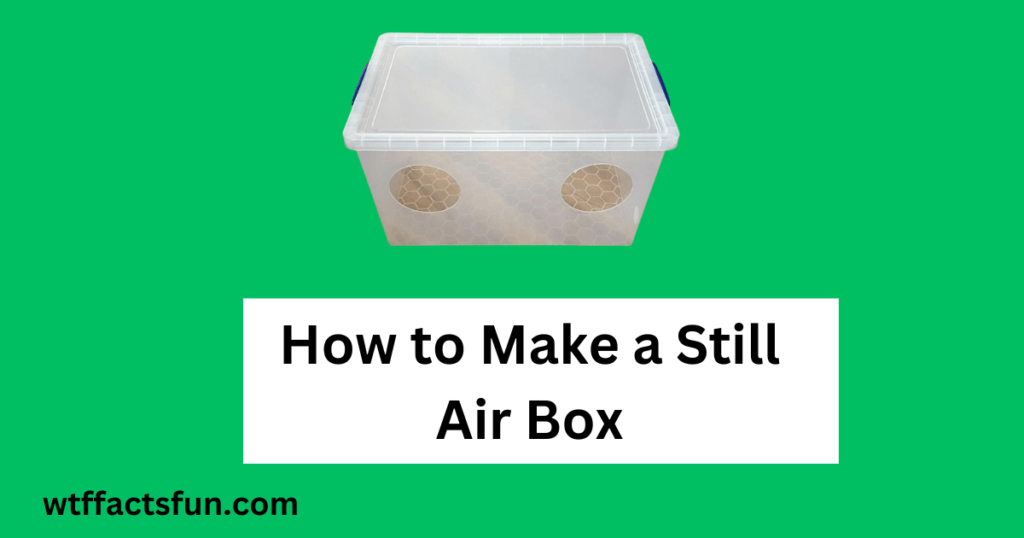
How to Make a Still Air Box: A still air box is an essential tool for microbiological work, providing a controlled environment to prevent contamination during delicate procedures. This article presents a step-by-step guide on how to construct a still air box for your microbiological experiments. By following these instructions, you can create a cost-effective and efficient solution to safeguard your work from unwanted contaminants.
Materials Needed:
- Work Surface:
- A sturdy table or bench to serve as the foundation for your still air box.
- Enclosure:
- A clear acrylic or polycarbonate box with dimensions suitable for your workspace.
- Ensure one side is easily removable for access to the interior.
- Gloves:
- Latex or nitrile gloves to maintain aseptic conditions.
- Air Filtration System:
- HEPA (High-Efficiency Particulate Air) filter with a fan.
- A small, quiet computer fan is suitable for this purpose.
- Light Source:
- LED light strip or battery-powered LED lamp to illuminate the interior.
- Sealant:
- Silicone sealant for attaching the fan and creating airtight seals.
- Tools:
- Screwdriver
- Drill
- Hole saw or jigsaw
- Measuring tape
- Sandpaper
Construction Steps:
- Measure and Mark:
- Measure the dimensions of your enclosure and mark the areas where the fan, gloves, and access panel will be installed.
- Cut Openings:
- Use a hole saw or jigsaw to cut openings for the fan on one side of the box. Ensure a snug fit for the fan.
- Cut holes for gloves on either side of the box.
- If not supplied with pre-cut openings, create a removable access panel on one side of the box.
- Install Gloves:
- Attach the gloves to the holes using a suitable sealant. Ensure a tight, airtight seal.
- Mount the Fan:
- Securely attach the fan to the designated opening using screws.
- Position the fan to draw air through the HEPA filter and into the box.
- Attach the HEPA Filter:
- Place the HEPA filter in a way that allows the fan to draw air through it.
- Seal the edges of the filter to prevent any air bypass.
- Create the Access Panel:
- If not pre-existing, attach a clear, removable panel to allow access to the interior of the box.
- Seal Joints:
- Apply silicone sealant to all joints, ensuring the box is airtight. Pay special attention to the edges of the gloves, fan, and access panel.
- Attach Lighting:
- If desired, attach the LED light strip or battery-powered LED lamp to the interior of the box for better visibility.
- Test for Airtightness:
- Before use, conduct a thorough check to ensure the box is airtight. Any leaks should be sealed with additional silicone.
Conclusion:
By following these step-by-step instructions, you can build your own still air box for microbiological work. This DIY solution offers a cost-effective alternative to commercially available options, allowing you to conduct your experiments in a controlled and contamination-free environment. Always prioritize safety and cleanliness throughout the construction process to guarantee the success of your microbiological work.
Read also:
How to Clean Your Igloo Ice Maker for Optimal Performance